
如何使用 Geekflare Meta Scraping API 提取网站元数据
已发表: 2022-11-30一般来说,网络抓取是从加载网页时生成的 HTML 中提取网站数据。
Metascraping 是从网页的元标记中提取网页的元数据。
网页的元数据是有关页面的信息,而不是页面的内容。 例如,元数据可能包括作者姓名、标题和网页描述。
它帮助用户和搜索引擎了解页面的内容。 抓取元数据允许用户在更短的时间内快速收集有关网页的信息。
可以使用多种方法来抓取网页的元数据,包括手动抓取、使用库或使用 Geekflare Metascraping API 等 API。
杀死猫的多种方法
要手动废弃,可以使用 Chrome DevTools 打开网页并从“元素”选项卡中提取元数据。 但是,当您处理多个页面时,此手册重复且乏味。 我们可以使用多种方法自动执行任务:
第一种方法是从头开始编写代码。 在这种方法中,您向要提取其元数据的网站发出 HTTP 请求。 之后,您可以解析响应 HTML,使用正则表达式或模式匹配从元标记中提取数据。 但是,这种方法是在重新发明轮子,因为您将花费时间重写现有代码。
第二种方法是使用您喜欢的任何编程语言的库。 这允许您抽象实现细节并使事情变得简单。 但是,如果您选择的编程语言没有合适的库或者您使用的特定运行时不支持该库,那么您将无法使用它。
第三种方法是使用像 Geekflare Metascraping API 这样的 API。 这种方法是理想的,因为无论您使用何种编程语言,它都能为您提供统一的界面。 只要支持发出 HTTP 请求,它就可以用任何语言使用。
本文将演示如何将 Geekflare Metascraping API 与 cURL、PHP 和 JavaScript (NodeJS) 结合使用。
为什么要使用 Geekflare Metascraping API?
由于其他方法的缺点,使用 Geekflare API 的优点是:
- 它与语言和运行时环境无关。
- 您可以避免重新发明轮子并花更少的时间编写代码。
- 您可以有效地抓取多个网站(几秒钟内)。
- 它非常易于使用。
- 您可以免费使用它。
开始使用 Geekflare API
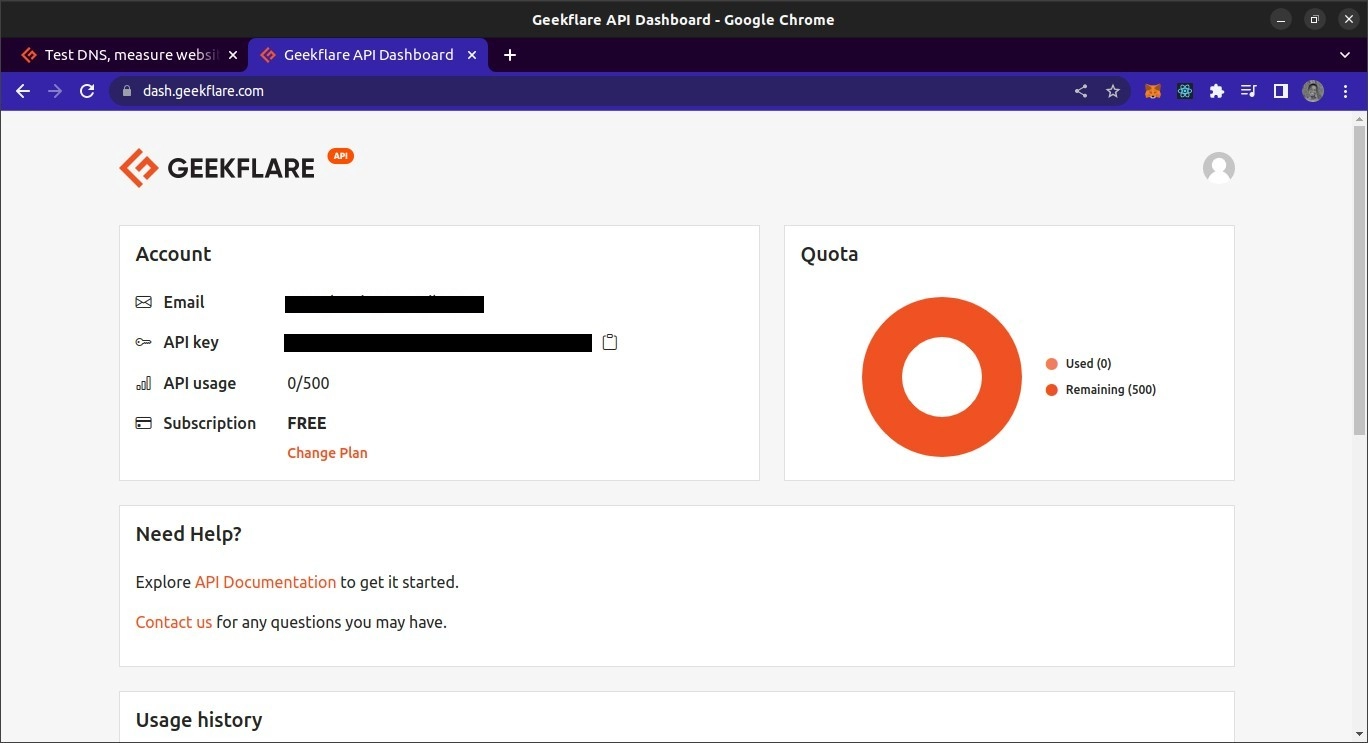
要使用 Geekflare API,您需要一个 API 密钥。 要获得一个,请访问 Geekflare 网站并创建一个免费帐户。 创建帐户后,登录仪表板。 从仪表板中,您应该能够看到您的 API 密钥。
Geekflare Metascraping API 概述
API 端点位于https://api.geekflare.com/metascraping 。 发出请求时,您应该将 API 密钥作为请求标头提供,名称为x-api-key ,值是您的 API 密钥。
您还需要在请求正文中传递其他参数。 它们是url 、 device和proxyCountry 。
- URL指定要抓取其元数据的网页的 URL。
- 设备指定在抓取元数据时用于访问站点的设备。 您的设备选项是移动设备或桌面设备。
- 代理国家/地区指定在抓取数据之前应从中提出请求的国家/地区。 然而,代理国家是一项高级功能,只能在 Geekflare 付费计划下使用。
鉴于参数将作为正文的一部分传递,请求必须是POST请求,因为GET请求不能包含元数据。
在 cURL 中使用 Geekflare Metascraping API
在第一个演示中,我们将从命令行使用 cURL 实用程序来请求 Metascraping API。 要使用 cURL,您需要先安装它。
我将使用 Bash 终端。 这应该是 macOS 和 Linux 上的默认终端。 对于 Windows,您必须安装 Git Bash。
cURL安装完成后,我们就可以使用cURL命令来发起请求了。 我们将向命令传递选项以指定请求参数:请求方法、端点、请求正文和请求标头。
curl -X POST \ https://api.geekflare.com/metascraping \ -d '{ "url": "https://tesla.com" }' \ -H 'Content-Type: application/json' \ -H 'x-api-key: <API_KEY>'注意:前三行后的反斜杠允许您将命令输入分成多行。
此命令将 HTTP 方法指定为 POST,并将端点指定为 Geekflare API 元数据抓取端点。
我们还将请求正文作为 JSON 对象发送,其 URL 属性指定为 https://tesla.com。 最后,我们添加了将正文内容类型指定为 JSON 的标头,并使用x-api-key标头提供了 API 密钥。
当我们运行这个命令时,我们得到以下输出:
{"timestamp":1669328564856,"apiStatus":"success","apiCode":200,"meta":{"url":"https://tesla.com","device":"desktop","test":{"id":"1fh2c30i05vmvxb99pdh6t6hze2x72jv"}},"data":{"author":null,"date":null,"description":"Tesla is accelerating the world's transition to sustainable energy with electric cars, solar and integrated renewable energy solutions for homes and businesses.","image":"https://tesla-cdn.thron.com/delivery/public/image/tesla/6139697c-9d6a-4579-837e-a9fc5df4a773/bvlatuR/std/1200x628/Model-3-Homepage-Social-LHD","logo":"https://tesla.com/themes/custom/tesla_frontend/assets/favicons/favicon-196x196.png","publisher":"Tesla","title":"Electric Cars, Solar & Clean Energy | Tesla","url":"https://www.tesla.com/","lang":"en"}}那是正确的输出。
将 Geekflare Metascraping API 与 JavaScript 结合使用
对于这个项目,我们将创建一个 NodeJS 脚本来从 API 中获取数据。 这意味着您需要安装 NodeJS。 您还需要 NPM 或任何其他 Node 包管理器来管理项目的依赖项。 我还将使用 Bash 终端来运行命令。
要在 JavaScript 中使用 API,我们首先创建一个空的项目文件夹并在终端中打开它。
mkdir metascraping-js && cd metascraping-js在此之后,我们可以创建我们要编写脚本的文件:
touch index.js然后我们可以将项目实例化为 Node 项目:
npm init -y 要在我们的文件中使用 ESModule 语法,请将行“ type ” : “ module ”添加到 package.json 文件的根目录,如下所示:
{ "name": "metascraping", "version": "1.0.0", "description": "", "main": "index.js", "type": "module", "scripts": { "test": "echo \"Error: no test specified\" && exit 1" }, "keywords": [], "author": "", "license": "ISC", } 接下来,我们将安装node-fetch包。 这个包在NodeJS中提供了一个类似于浏览器的fetch功能的fetch功能。 这使得在 NodeJS 中发出 HTTP 请求比使用内置的http模块发出请求更容易。
npm install node-fetch 正确安装包后,我们就可以开始编辑脚本了。 使用您选择的文本编辑器打开index.js文件。 就我而言,我将使用基于终端的nano文本编辑器。
nano index.js 编辑index.js文件,我们首先导入fetch函数,这是node-fetch模块的默认导出。
import fetch from 'node-fetch' 然后,我们将定义请求的主体。 这将是一个带有url属性的 JSON 字符串。 url属性的值是我们想要获取其元数据的网页。
const body = JSON.stringify({ url: 'https://spacex.com' }); 接下来,我们可以定义最终调用fetch函数时将传递给它的请求选项。
const options = { method: 'POST', headers: { 'Content-Type': 'application/json', 'x-api-key': <YOUR API KEY here> }, body: body } 我们已将我们的请求方法定义为POST请求。 我们还定义了两个标题。 一个指定正文包含 JSON 数据,另一个提供 API 密钥。

您可以将 <YOUR API KEY> 替换为您的实际 API 密钥。 实际上,API 密钥不应硬编码到文件中,而应使用环境变量加载。 最后,我们将 body 属性指定为我们之前定义的 body 常量的值。
最后,我们调用fetch
fetch('https://api.geekflare.com/metascraping', options) .then(response => response.json()) .then(json => console.log(json)) 在这里,我们调用了 fetch 函数,传入了 API 端点和我们之前定义的选项。 由于fetch返回一个承诺,我们附加了一个使用then解析 JSON 响应的回调。
回调返回另一个承诺,当它解决时,我们将console.log()返回的对象。
所以最终,我们的文件应该是这样的。
import fetch from 'node-fetch' const body = JSON.stringify({ url: 'https://spacex.com' }); const options = { method: 'POST', headers: { 'Content-Type': 'application/json', 'x-api-key': <YOUR API KEY here> }, body: body } fetch('https://api.geekflare.com/metascraping', options) .then(response => response.json()) .then(json => console.log(json))要运行脚本、保存编辑并关闭 nano 或您正在使用的文本编辑器,然后输入以下命令:
node .您应该获得以下元数据:
{ timestamp: 1669305079698, apiStatus: 'success', apiCode: 200, meta: { url: 'https://spacex.com', device: 'desktop', test: { id: '8m3srgqw06q2k8li5p6x70s8165d6e2f' } }, data: { author: null, date: null, description: 'SpaceX designs, manufactures and launches advanced rockets and spacecraft.', image: 'https://www.spacex.com/static/images/share.jpg', logo: 'https://spacex.com/static/images/favicon.ico', publisher: 'SpaceX', title: 'SpaceX', url: 'http://www.spacex.com/', lang: 'en' } }将 Geekflare API 与 PHP 结合使用
要使用 Geekflare Metascraping API,首先确保您的本地计算机上安装了 PHP 和 Composer。
首先,创建并打开项目文件夹。
mkdir metascraping-php && cd metascraping-php接下来,安装 GuzzleHTTP。 Guzzle 是您可以与 Geekflare API 一起使用的众多 PHP 客户端之一。
composer require guzzlehttp/guzzle安装 Guzzle 后,我们可以创建一个脚本
touch script.php 然后我们就可以开始写代码了。 使用您选择的文本编辑器,打开script.php文件。 就我而言,我将使用nano ,它是一个基于终端的文本编辑器。
nano script.php在脚本中,我们插入样板 PHP
<?php // All code goes here ?> 现在加载扩展,从 Guzzle 导入 Request 和 Client 类。 这段代码应该写在我们之前写的<?php和?>之间。
require_once('vendor/autoload.php'); use GuzzleHttp\Client; use GuzzleHttp\Psr7\Request; 接下来,我们可以通过实例化GuzzleHttp\Client类来创建客户端
$client = new GuzzleHttp\Client();之后,我们可以为请求定义标头。 对于这个特定的请求,我们将提供两个标头,一个指定正文的内容类型为 JSON,另一个包含我们的 API 密钥。
$headers = [ 'x-api-key' => <YOUR API KEY HERE>, 'Content-Type' => 'application/json' ]; 将<YOUR API KEY HERE>替换为来自 Geekflare API 仪表板的实际 API 密钥。
然后,我们可以定义主体。 在我们的例子中,正文将是一个 JSON 字符串,属性url设置为"https://twitter.com"
$body = json_encode([ "url" => "https://twitter.com" ]);要创建请求,我们实例化之前导入的请求类,传入请求方法、端点、标头和请求正文。
$request = new Request('POST', 'https://api.geekflare.com/metascraping', $headers, $body);接下来,我们使用客户端发送请求。
$response = $client->sendAsync($request)->wait();之后,我们可以提取请求的主体并将其打印到控制台
echo $response->getBody(); 如果您已正确复制代码,则script.php文件应如下所示
<?php require_once('vendor/autoload.php'); use GuzzleHttp\Client; use GuzzleHttp\Psr7\Request; $client = new GuzzleHttp\Client(); $headers = [ 'x-api-key' => <YOUR API KEY>, 'Content-Type' => 'application/json' ]; $body = json_encode([ "url" => "https://twitter.com" ]); $request = new Request('POST', 'https://api.geekflare.com/metascraping', $headers, $body); $response = $client->sendAsync($request)->wait(); echo $response->getBody(); ?>保存脚本,关闭它并使用
php script.php您应该得到以下输出:
{ "timestamp":1669322100912, "apiStatus":"success", "apiCode":200, "meta": { "url":"https://twitter.com", "device":"desktop", "test":{ "id":"wn1nj30r04bk0ijtpprwdqmtuirg9lze" } }, "data":{ "author":null, "date":null, "description":"The latest stories on Twitter - as told by Tweets.", "image":"https://abs.twimg.com/a/1602199131/img/moments/moments-card.jpg", "logo":"https://abs.twimg.com/responsive-web/client-web/icon-ios.b1fc7279.png", "publisher":"Twitter", "title":"Explore", "url":"https://twitter.com/explore", "lang":"en" } }最后的话
本指南介绍了使用 Geekflare Metascraping API 的不同方式。
Metascraping API 还允许您提供更多参数,而不仅仅是 URL 参数。 其中一个参数是代理参数,只能通过 Geekflare API 高级计划访问。 无论如何,Geekflare API 仍然足够强大,可以用于许多用途。
查看 Geekflare API 的官方文档以获取更多信息。